
In Rainbird, an ‘Agent’ will provide people that do not have access to the Rainbird Studio/your knowledge maps the power to run queries that have been created using the Test Query function. An Agent can be accessed by others via a URL, or by embedding an agent into a webpage.

Figure 1: Agents live under the ‘Publish’ tab in Rainbird Studio
In Rainbird Studio, to create an Agent:
- Click ‘Publish’
- Click on ‘Agents’
- Click ‘+NEW AGENT’ to create a new agent (or select an agent if editing an existing agent)
- Click ‘Publish’ (or ‘Update’ if updating an existing agent)
The following attributes can be configured when creating/editing an agent:
- Title – Adds a description in the header of the Agent
- Subtitle – Adds a subtitle underneath the title
- Queries – The queries created using the test query feature that people that access that agent will be able to run
- Engine Selection – The engine the queries will run on
- Display back button – Displays a button allowing the user to go back to the previous question in a query to answer it again
- Group questions – Will display questions in question groups (if using)
- Display Evidence Tree – Removes or adds the ‘i’ link, allowing access to the evidence tree
- Display Certainty of results – Removes or adds the certainty percentage displayed next to results
- Display Print Result button – Removes or adds the button allowing a user to print their results
- Context Identifier – Displays a request for an ID that allows Rainbird to retrieve facts from a previous session (the knowledge map will have to be set up to allow this)
- Colour configurator – Allows the user to change the colours of the Agent
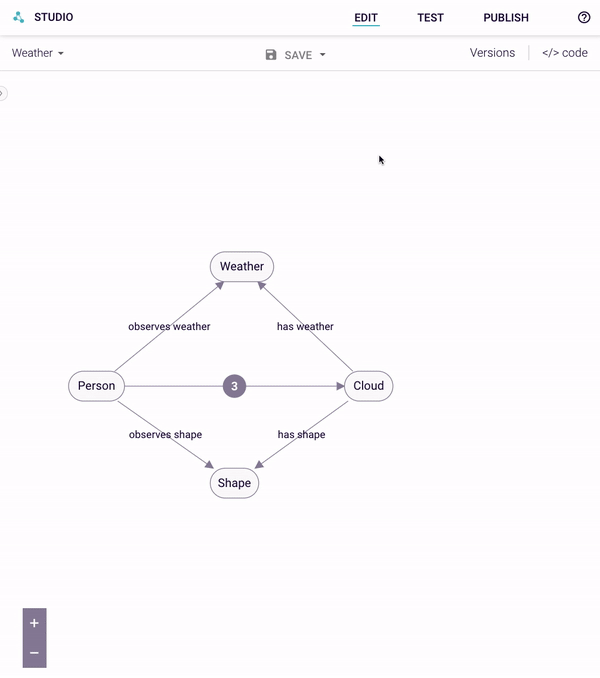
Figure 2: Creating a new Agent
Once the agent is set up, a list of all created agents will be displayed on the ‘Agent’ screen.
To find the URL for your agent:
- From the Agent screen, open up the Agent you wish to send to someone else
- Scroll down to the iframe link box
- Copy out the URL embedded in the iframe code (see Figure 2)
To embed an agent into a webpage:
- From the Agent screen, open up the Agent you wish to embed
- Scroll down to the iframe link box
- Copy all of the code
- Paste the code into the HTML of the webpage you wish to embed the agent into